
Let’s be real: life happens. Whether you’ve installed our recycled plastic panels as a sleek office partition, a high-traffic retail counter, or heavy-duty industrial shelving, they’re bound to take a bit of a beating eventually. While our materials are incredibly durable and weather-resistant, accidents like deep gouges, heavy scratches, or the occasional “oops” with a forklift can occur.
The good news? Unlike many traditional materials that end up in the skip bin once they’re damaged, recycled plastic is remarkably forgiving.
At Resourceful Living, we’re all about the circular economy. That means we don’t just want you to buy our panels; we want you to keep them in play for as long as humanly possible. To help you do just that, we’ve put together the ultimate maintenance and repair guide. We sat down with our production legends, Geoff and Joe, to get the exact process they use in the factory to ensure a flawless finish.
If you’re looking for a way to extend the life of your panels and keep your project looking mint, you’re in the right place.
Why Repairing is Better Than Replacing
Before we dive into the “how,” let’s talk about the “why.” Repairing your panels isn’t just about saving a few bucks (though that’s a nice bonus). It’s about resource efficiency.
- Extends Product Life: A quick 30-minute repair can add years to the functional life of a benchtop or wall panel.
- True Circularity: By maintaining the material, you’re reducing the demand for new feedstock and keeping carbon embodied in the product.
- Easy Maintenance: You don’t need a degree in chemical engineering to fix these. If you can use a sander and a putty knife, you’re overqualified.
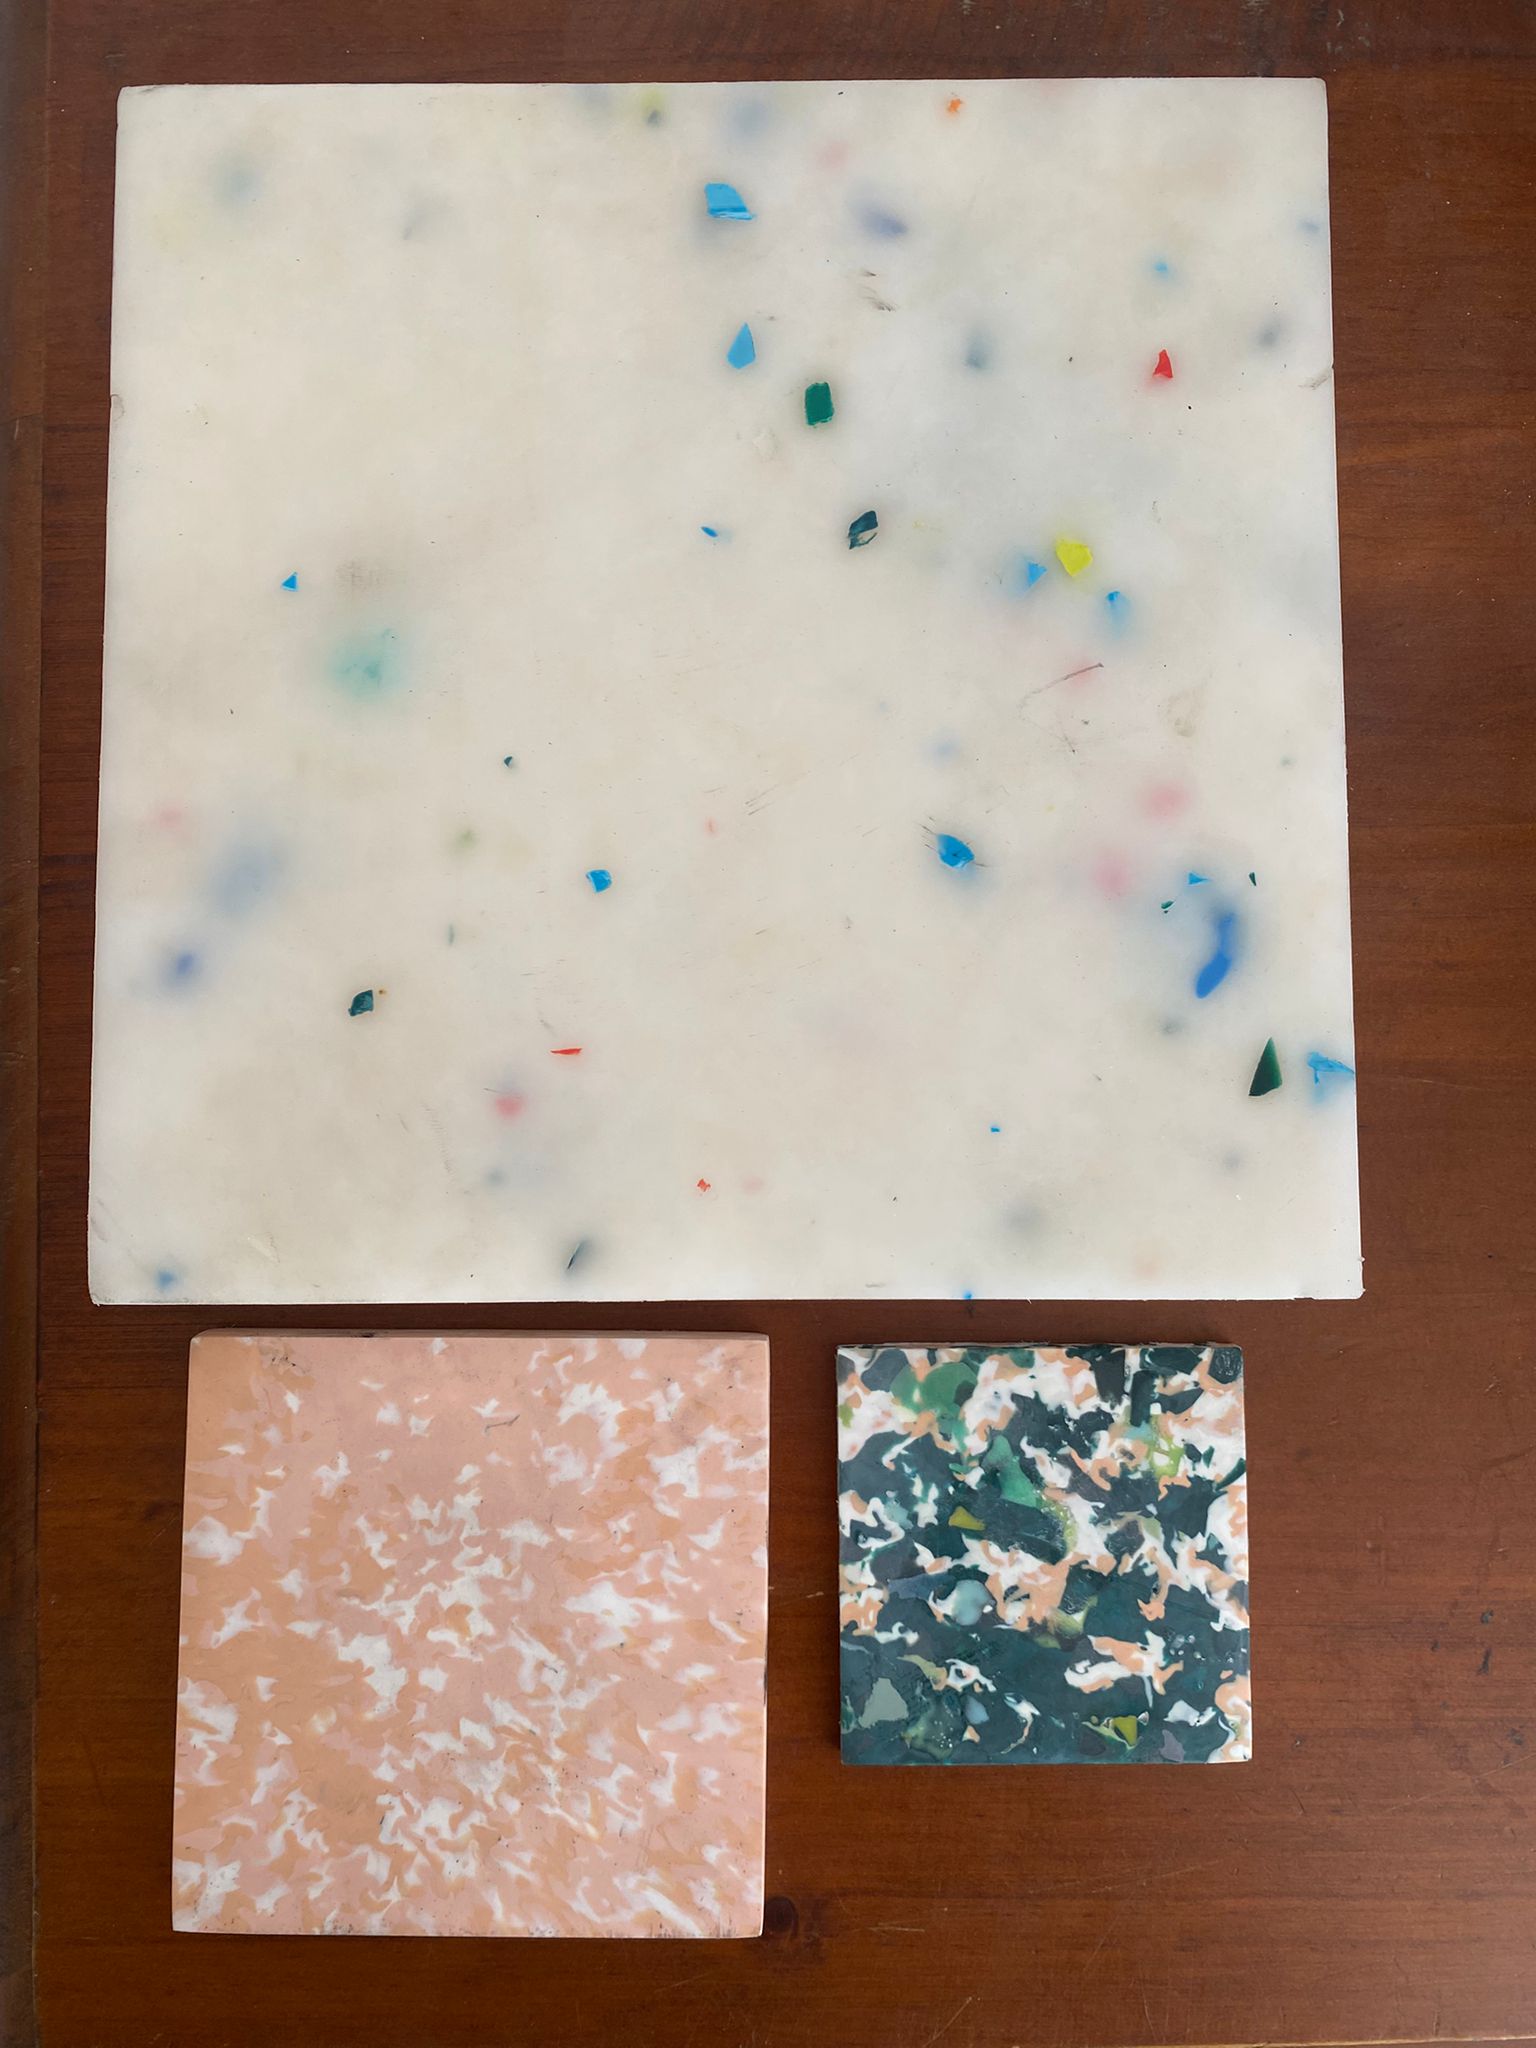
- Aesthetic Consistency: Sometimes, a specific batch of recycled plastic sheets has a unique pattern you love. Repairing allows you to keep that exact look without trying to colour-match a new sheet.
The Secret Weapon: Builders Bog
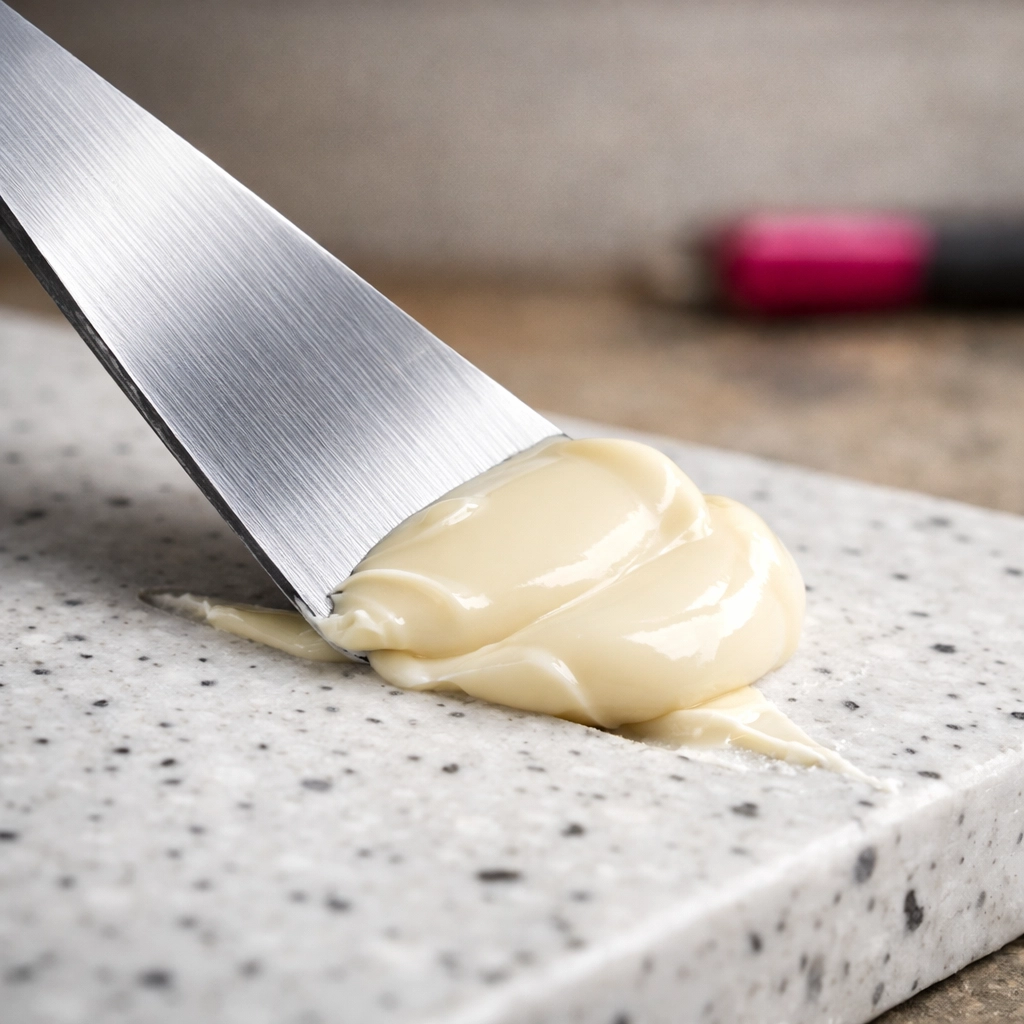
When most people think of plastic repair, they think of complex plastic welding or messy glues. While those have their place, the “secret sauce” recommended by our production team is actually builders bog.
Commonly known as standard wood or automotive filler, builders bog is a two-part polyester resin that sets hard and bonds incredibly well to the textured surface of our recycled panels. It’s readily available at any hardware store in Australia, making it the most accessible way to fix deep gouges or chips.
“The beauty of working with recycled HDPE and LDPE is that it’s dense but workable. Using a high-quality filler allows you to ‘re-sculpt’ the surface before sanding it back to match the original profile.” : Geoff, Production Team
Your Repair Toolkit: What You’ll Need
Before you start, grab these essentials:
- Builders Bog (with the hardener).
- Plastic or Metal Spatula/Putty Knife.
- Sandpaper (various grits: 40, 80, 120, 240, and 400 for a polished finish).
- Orbital Sander (optional, but highly recommended for larger areas).
- Cleaning Agent (Isopropyl alcohol or a simple degreaser).
- Microfibre Cloth.
Step-by-Step: The Ultimate Fix List
Follow these steps exactly as Joe and Geoff do in the Resourceful Living workshop to ensure your repair is structural and visually seamless.
1. Clean the Damaged Area
First things first: you need to get rid of any dust, oils, or “mystery grime” inside the scratch or gouge. If the surface is dirty, the bog won’t stick. Wipe it down thoroughly with a degreaser or alcohol. Ensure the area is completely dry before moving to the next step.
2. Prep and “Rough Up” the Surface
Plastic is naturally smooth, which can be a nightmare for adhesion. To give the bog something to “bite” into, use a coarse sandpaper (around 40 or 80 grit) to lightly scratch the inside and the immediate edges of the damaged area. You’re looking to create a mechanical bond.
3. Mix the Bog
Follow the instructions on the tin. Usually, it’s a golf-ball-sized amount of filler to a pea-sized amount of hardener. Pro tip: Only mix what you can use in about 5 to 10 minutes. This stuff sets fast, especially on a warm Australian afternoon!
4. Apply and Overfill
Using your spatula, press the bog firmly into the hole or crack. Make sure you press hard to eliminate air bubbles. Here is the most important part: overfill the area. You want the bog to sit slightly higher than the rest of the panel. As it cures, it might shrink a tiny bit, and you’ll need that extra material to sand back flat.
5. The Sanding Process (Graduating Grits)
Once the bog is hard to the touch (usually 20–30 minutes), it’s time to sand. This is where the magic happens.
- Stage 1 (Leveling): Use 80 grit to knock back the excess bog until it’s flush with the panel.
- Stage 2 (Smoothing): Move to 120 grit to remove the scratches left by the 80 grit.
- Stage 3 (Blending): Use 240 grit. At this stage, you shouldn’t be able to feel the transition between the filler and the plastic with your fingernail.
- Stage 4 (Finishing): Finish with 400 grit or higher for a smooth, matte-satin finish that matches our standard panel texture.
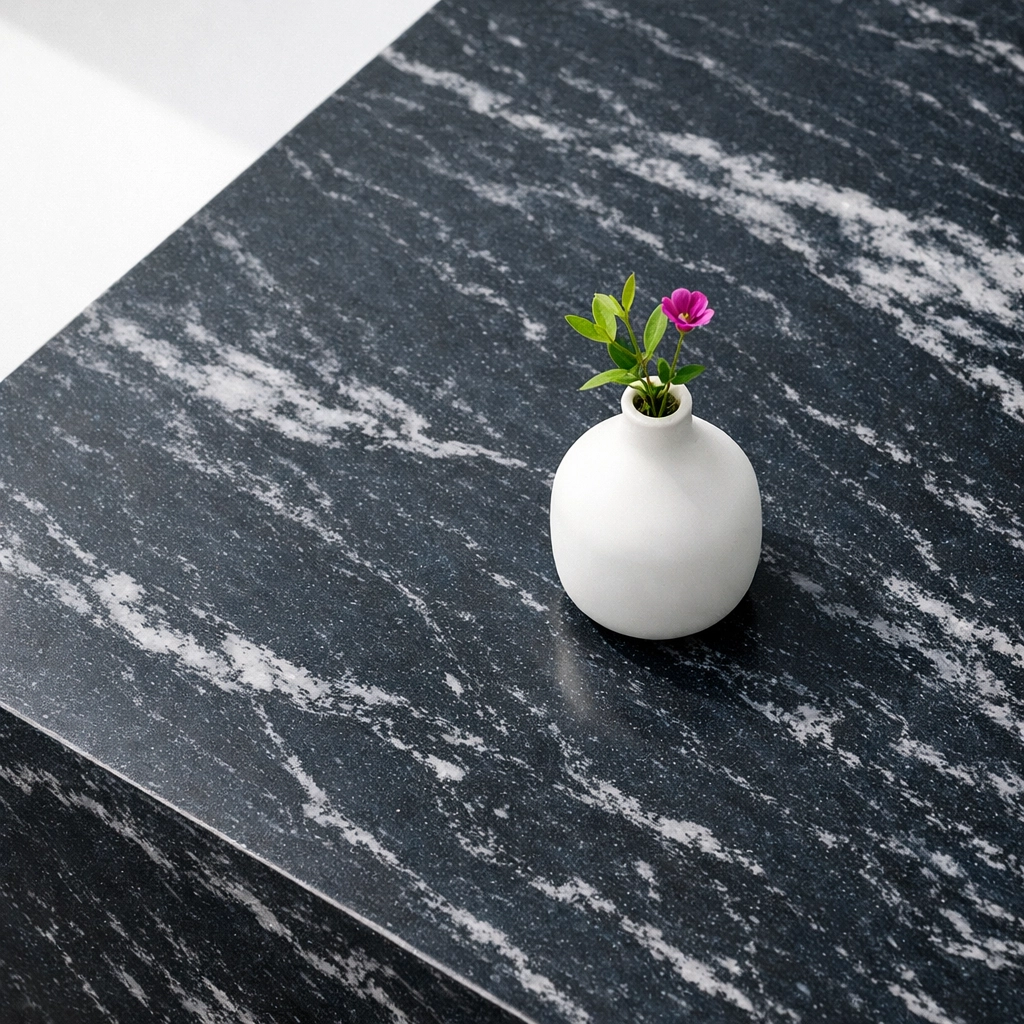
What About Colour?
Since our panels often feature vibrant, multicoloured patterns like our ‘N70 White Confetti’, a plain grey or white bog might stand out.
Insider Tip: If you want to get fancy, you can actually mix a tiny bit of powdered pigment or even “plastic dust” (saved from previous cuts of the same material) into the bog before adding the hardener. This helps the repair blend into the speckled pattern of the recycled plastic benchtops.
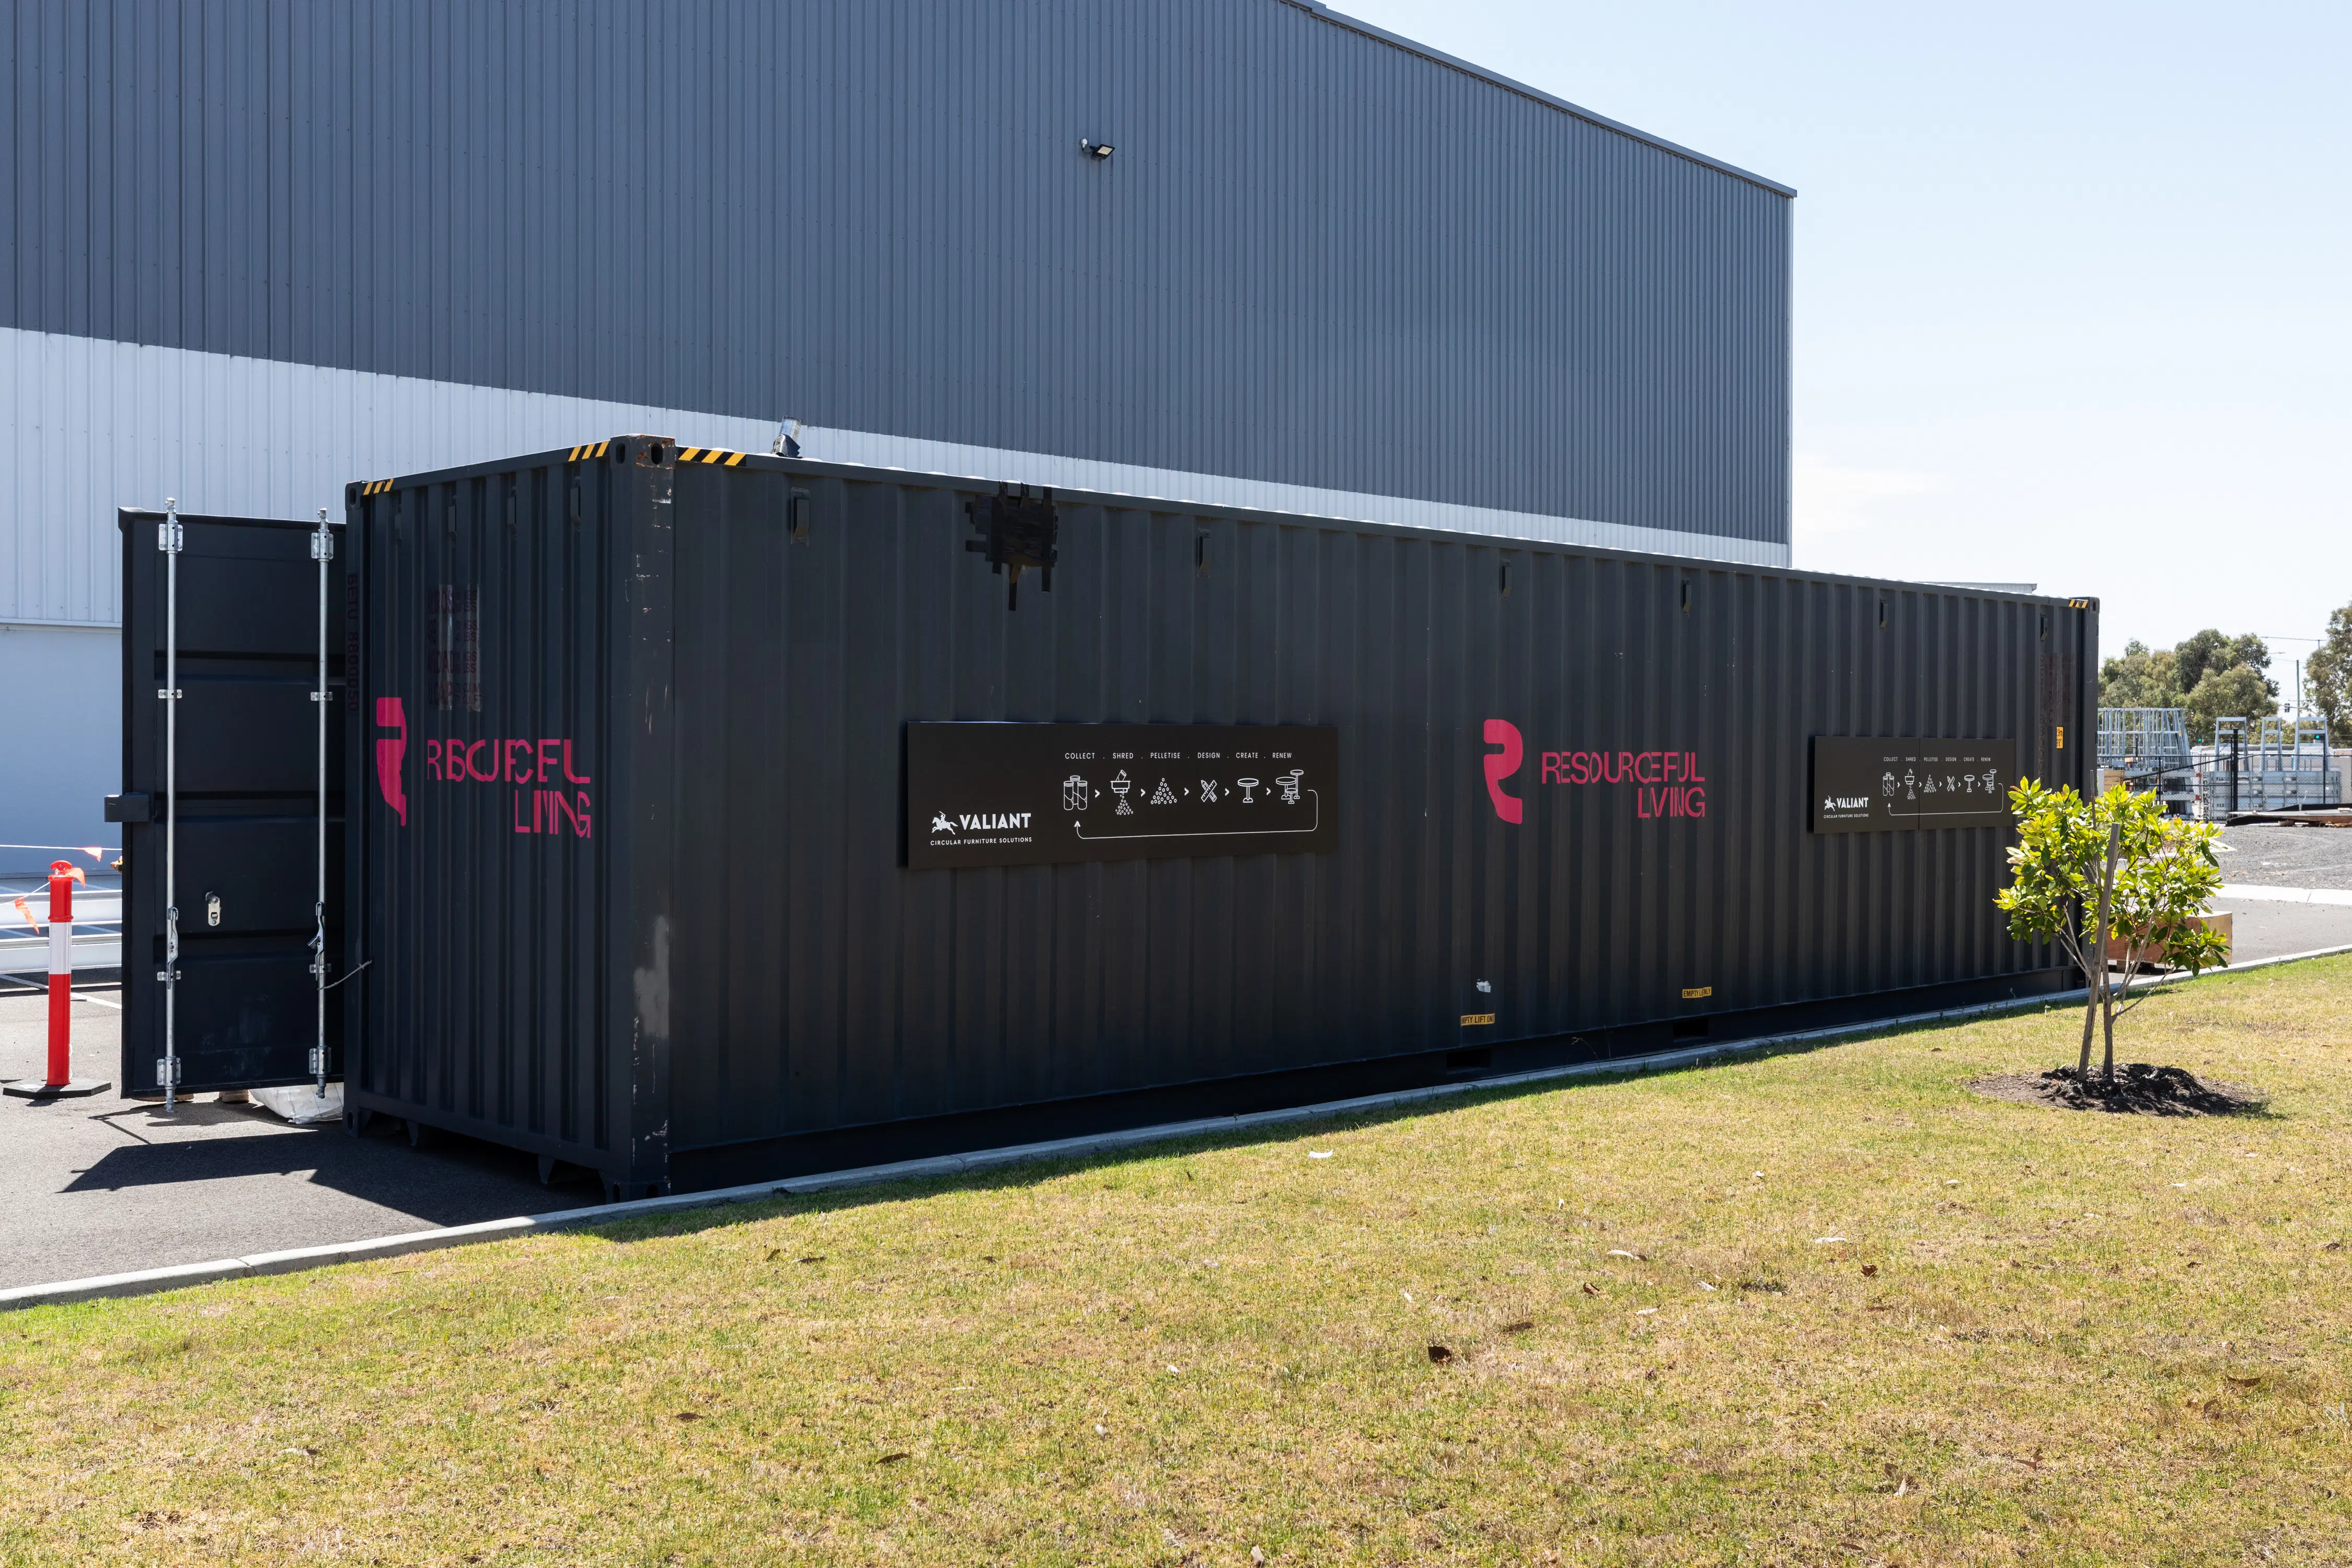
When a Repair Isn’t Enough: The Take-Back Program
We’re realistic: sometimes the damage is too far gone. Maybe a panel was structural and has snapped, or perhaps it’s been through a major industrial accident.
This is where Resourceful Living differs from your average material supplier. We don’t want our products in a landfill, ever. If your panel is beyond a “builders bog” fix, it’s time to look at our End-of-Life Take-Back Program.
Because our panels are made from 100% recycled Australian plastic (HDPE/LDPE/PP), we can simply take the old, broken panel, granulate it back into small flakes, and melt it down to create a brand-new sheet. It’s the ultimate “reset” button for your materials.
You can learn more about how this works in our guide to end-of-life take-back.
Comparison: Repairing Plastic vs. Other Materials
| Feature | Recycled Plastic (HDPE) | Timber | Engineered Stone |
|---|---|---|---|
| Repair Method | Builders Bog / Sanding | Wood Filler / Staining | Professional Resin Kits |
| DIY Friendly? | ✅ Very Easy | ✅ Easy | ❌ Difficult / Expert Only |
| Moisture Risk | ❌ None | ⚠️ High (can rot) | ❌ None |
| End of Life | ✅ 100% Recyclable | ⚠️ Limited (Mulch/Burn) | ❌ Landfill |
Maintenance Tips to Avoid Repairs
While knowing how to fix a panel is great, preventing damage is even better.
- Avoid Extreme Heat: While HDPE is tough, placing a red-hot pan directly from the stove onto a benchtop can cause deformation. Always use a heat mat.
- Use Proper Fasteners: When installing, ensure you’re using the right screws to prevent cracking around pilot holes. Check our builders guide for more on technical specs.
- Cleaning: Stick to mild soapy water. Harsh chemicals won’t hurt the plastic, but they can sometimes dull the finish over many years.
Final Thoughts
Repairing your recycled plastic panels is a small act that makes a big impact. It saves you money, keeps your project looking sharp, and aligns perfectly with the principles of circular construction.
Next time you see a scratch, don’t sweat it. Grab some bog, channel your inner Geoff or Joe, and give that panel a second lease on life.
Need a hand or looking for more technical advice? Our team is always here to help you get the most out of your sustainable materials. Whether you’re a builder, a DIYer, or a procurement manager, we’re dedicated to making sure your project stands the test of time.
If you’re ready to start your next project with materials that are as easy to fix as they are to look at, browse our product categories and see what’s possible with 100% Australian recycled plastic.


